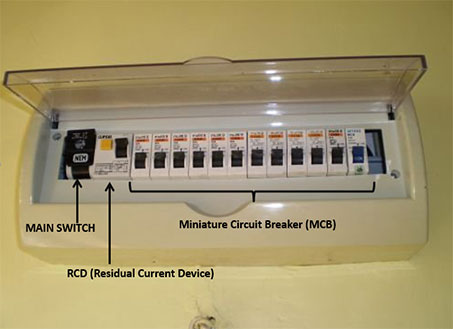
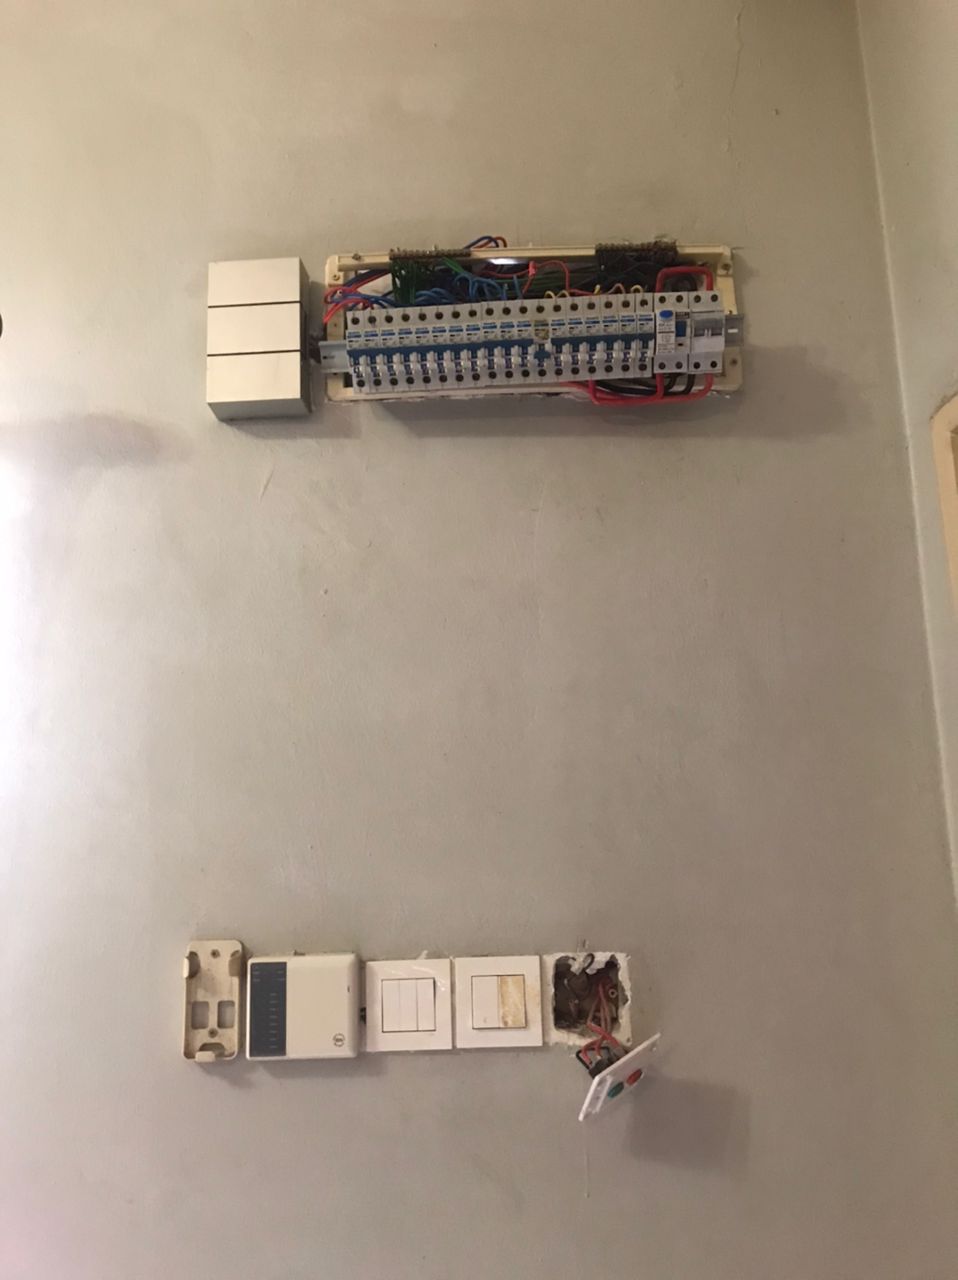
Baru-baru ini eletkrik rumah saya “trip”. Saya on satu-satu MCB untuk tahu mana yang satu yang membuatkan rumah elektrik saya trip.
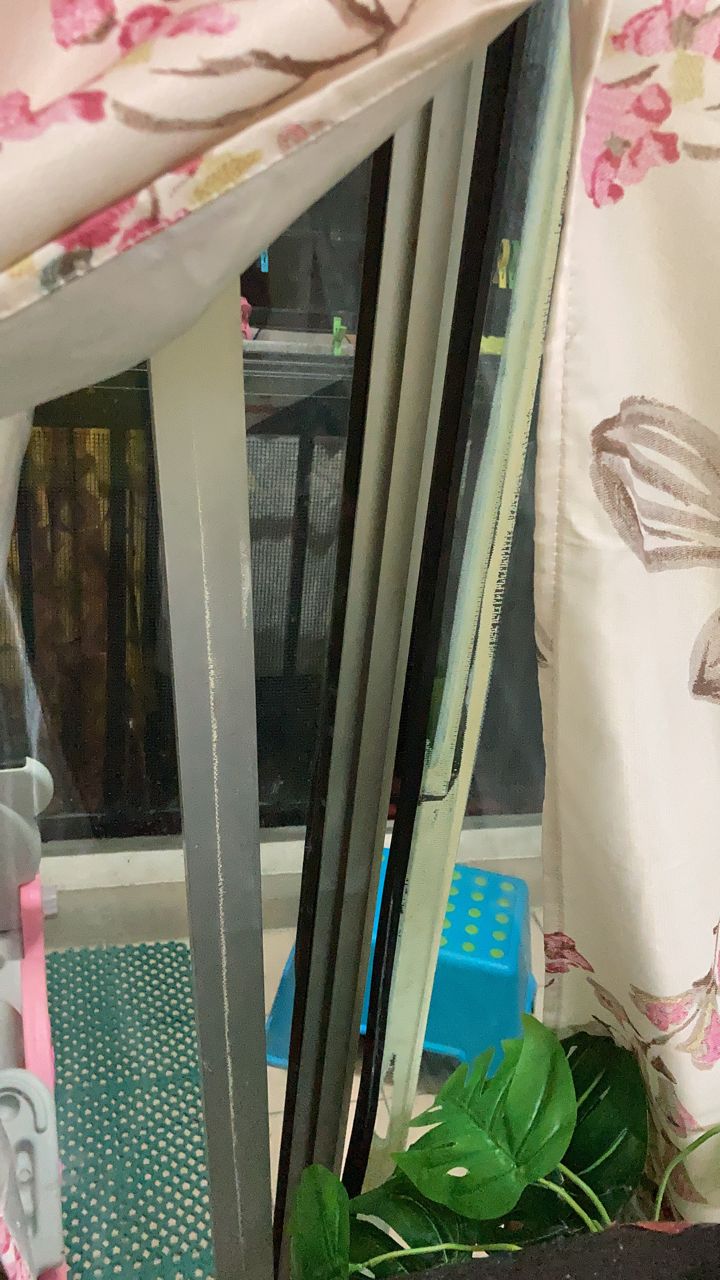
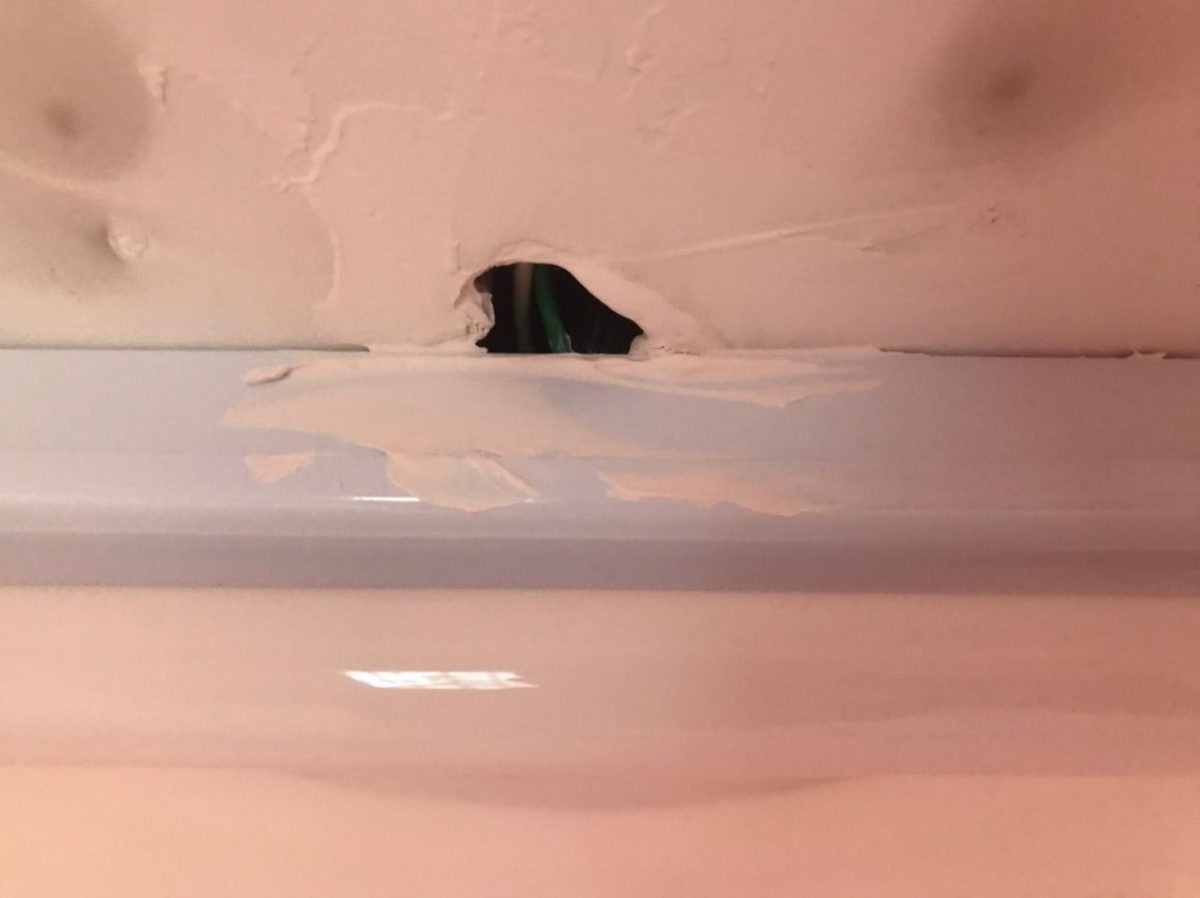
Saya dapati autogate yang trip. Ianya terus trip walaupun tidak menggunakan autogate. Ini berkemungkinan besar ada masalah wiring dari bekalan elektrik ke autogate.
Untuk pastikan rumah dapat bekalan elektrik saya matikan MCB untuk autogate. Kemudian saya memanggil wireman untuk membaiki masalah trip ini.
Ujian Untuk Mengenalpasti Wiring Menyebabkan Elektrik Trip
Wireman mengunakan wiring asing dari MCB ke autogate. Kemudian on kan MCB autogate. Menggunakan wiring baru ini autogate tidak trip. Ini mengesahkan ada masalah wiring dari MCB ke autogate.
kabel yang digunakan untuk menguji sama ada wiring sekarang auto gate yang menyebabkan trip
Selepas wiring dikenalpasti sebagai punca utama, wireman memasang wiring baru ke autogate.
Pemasangan Wiring Baru
Wiring dilindungan di dalam paip PVC supaya tidak terdedah kepada kesan matahari dan hujan.
troubleshoot trip problem – MCB openpemasangan wiring baru untuk auto gatewiring auto gate baru ditutup dengan paip PVC putih
Kos Pemasangan Wiring Baru
Pemasangan mengambil masa selama 4 jam setengah.
Jumlah kos untuk pasang wiring baru: RM310.
Nombor Telefon Wireman Yang Memperbaiki Wiring Rumah Saya
Saya sangat mengesyorkan wireman ini kerana mereka menepati masa dan kerja yang berkualiti. Selain itu senang hendak berkomunikasi dengan mereka.
Every time there was electricity blackout, I couldn’t open my auto gate because its backup battery was out of power. It is time to replace it with new one. At first I thought it was difficult.
Actually it is easy, just need to buy the new battery and plug the new battery and it works. Before plugging new battery, it is recommended you switch off your auto gate MCB first.
Check your old battery voltage and current. Please make sure you buy same voltage and current.
I Tested The Voltage is Same As Old Battery
Auto Gate MCB is off then Unplug The Old Backup Battery
Switch off the Auto Gate MCB.
identify rcd mcbinstallation of new auto gate backup battery in progress
Test the Backup Battery
replace with new auto gate backup batteryauto gate position properly the new backup battery
I love to play Shopee Candy Game. For iPhone, I can’t find the direct access to the game. For Android you can access directly the Shopee Candy Game via Shopee Prizes.
For iPhone users, you can access the Shopee Candy Game via below links
Recently my toilet always overflow. I suspected it was due to the water inlet kept pumping in water.
My methods to Verify the Water Overflow
1. I adjust the water inlet lower.
2. If #1 fail, check whether there was water coming out from the water inlet hose
toilet diagram
Adjust the Water Inlet
My water inlet can adjust its float. So I thought at first due to long time the float move by itself. So I lowered down the float.
Outcome: Still overflow
Check Whether Water Coming in from Water Inlet Hose
So I put the water inlet hose near the toilet body overnight. If it was wet then I know the water inlet needs to be replaced.
toilet put water inlet hose to toilet wall
Outcome: Still overflow but the hose was dried.
Conclusion
For me there was only one conclusion because which was the water inlet that caused the water overflow. The water inlet was the only part that allows water to come in.
My Solution – Replace to new Water Inlet
At first I wanted to buy from Shopee which cost only around RM10, but after reading bad review. I decided to buy from a shop that cost me RM22. The quality is good and still works till now. I wanted to buy Techplas but it costs RM33 and at that time, I wasn’t really sure whether the overflow was really due to water inlet or other problems.
Outcome: No more overflow
toilet water inlet rm22 made in chinatoilet water inlet old vs new
Notes
I noticed after 8 years I have to change my toilet water inlet. I started to use the toilet in 2013. Now both my toilet water inlets have been replaced to new ones.
I had few bad experiences with unreliable aircond service providers before. After few days of service, the aircond became hot and the handyman didn’t want to be responsible.
Fortunately after few unreliable handyman, I found 2 who are reliable and charge reasonable price.
Usually it takes them 4o minutes to service the indoor and outdoor aircond.
Reliable Aircond Service Providers Near Shah Alam / Kota Damansara
Azrin – 017 376 0530
Ah Kit – 012 672 9633 – charge RM140 per service
Usually I service my aircond every 6 months or when there are so much dust inside the aircond which ever later 🙂
My Dirty Panasonic Aircond Needs Service
panasonic dirty aircond need servicedirty aircond need servicepanasonic aircond service
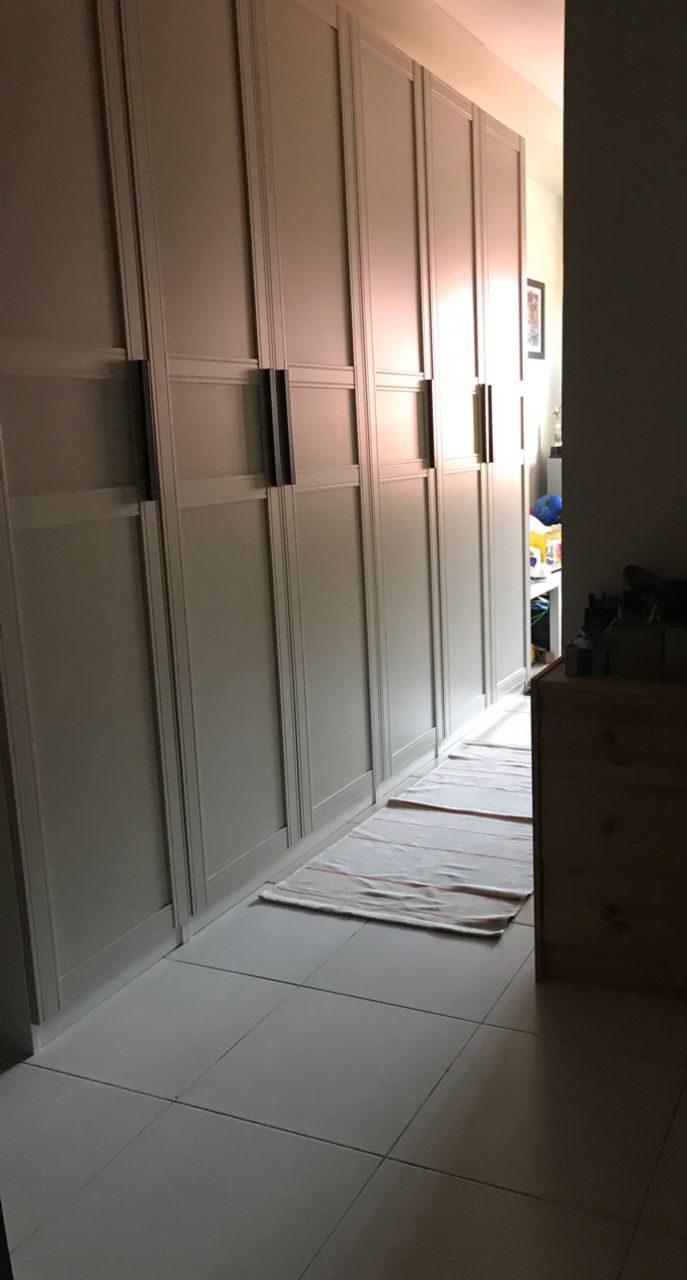
I bought IKEA PAX wardrobe at IKEA Damansara on 29th August 2021 and got it delivered on 31st August 2021. We had 50% discount for delivery thanks to Merdeka day. So we just paid RM35 for delivery.
We bought 2 sets of Ikea Pax Wardrobe with 150 cm (width) x 60 (depth) cm x 236 cm (height).
We had good experience with Ikea kitchen cabinet when we had issue with it, Ikea replaced our whole kitchen cabinet for free as it was still under guarantee.
Ikea PAX Wardrobe – 1o years guarantee
Changeable Configuration
You can change the shelves or add new shelf or drawer easily.
Why We decided To Install Ourselves the Wardrobe?
Actually we didn’t at first. But due to MCO Covid-19, Ikea didn’t do any installation until further notice.
When we received our Ikea wardrobe boxes, the delivery guy said they can do installation at 10% of total price.
We agreed to the price but they could only do it the next day.
Because we couldn’t wait and were too excited. We decided to install it ourselves.
What Are Tools Required?
Screwdrivers – 2 sets
Most of the time you just need one. But to join 2 frames together easily you need to use 2 screwdrivers.
Ikea gave one female and one male screw to join those 2 frames. So one screwdriver hold one screw while other turn to tighten the other screw.
ikea pax wardrobe – join 2 frames together
Cordless screwdriver cum cordless wood drill
Cordless screwdriver uses for closing gap of shelf supports plug and to screw L shape shelf to the frame.
cordless screwdriver cum wood drill
Wood drill bit
You need 2 sizes, the smallest one for the door handle drill and bigger one to make a whole for screw that will be used to join 2 frames.
ikea pax wardrobe – 2 sizes of wood drill bits for door handle and screw to join 2 frames
Water ruler
We used water ruler to ensure door handles were aligned horizontally.
Hammer
Hammer was used to nail the plywood at the back of the wardrobe.
F clamp – 2 sets
F clamp is used to join 2 frames together. IKEA instruction shows that we have to use 2 F clamps but I managed to do it with one F clamp because I only got one.
wood working F Clamp
How Easy it is to do it yourself the Ikea Wardrobe Installation?
Relatively it was easy but it was tiring. It took us nearly 12 hours to complete the whole wardrobe.
The hard part was installing the handle of the door. We made mistakes on it but the mistakes wasn’t that obvious.
What mistakes did we make during the installation?
Wood scar on the door handle
If drill from inside the door create wood scar on the exterior of the door. So the right way was to drill from exterior so the wood scar was only visible from the inside.
ikea pax wardrobe door handle – wood scar on the outsideikea pax wardrobe door handle – no wood scar on the outsideikea pax wardrobe door handle – drill from outsideikea pax wardrobe door handle – drill from inside
The L shape shelf
ikea pax wardrobe – L shape shelf
We wrongly assembled the L shape shelf. We had to disassembled and carefully read the IKEA instructions.
Secondly, we didn’t properly screw the L shape shelf to the frame until there was gap between the shelf and the frame body. When this happened, the drawer was stuck, it couldn’t be opened. We had to unscrew and screw it again.
One person drill the screw at the bottom of L shape shelf while the other push it to the side to avoid it from making a gap with the frame.
What tips we can give for anyone wants to do themselves?
Shelf Supports Plug
Use your cordless screwdriver to screw the supports plug to ensure there is no gap between the supports plug and the wardrobe frame.
At first, we tried to screw it manually but there was always a gap and hard to properly put the shelf on top of the supports plug.
ikea pax wardrobe – shelf supports plug
The Door Handle Wood Scar Due to Drilling
Use another unused wood at the other side of drilling section to avoid any wood scar as shown in the below videos.
Would we do it by ourselves again?
Yes. Even though it was tiring but we were excited and felt fulfilled when it was successfully assembled.
Some Photos during the IKEA Wardrobe Assembly
ikea wardrobe – frameikea wardrobe – kids helping to nail the plywoodikea wardrobe – nailing the plywoodikea wardrone – frame that can be nailed to the wallikea wardrobe – first frame completedikea wardrobe – lamp is on where door is opened