Godot MultiPlayer Lobby Tutorial Part 1

I want to do a multiplayer games but it is hard to really understand how it works.

I did refer the official tutorial from Godot here. but I still can’t understand it then I read the code example of multiplayer bomber.

From the multi player bomber, I just extracted when a lobby is created by Host and then a Player joins the lobby.

I did this to simplify the GDScript so I can focus on understanding its inner working.

Besides I add additional print() to see which function is called first and understand their sequence. To know the sequence I added timestamp when the function is called.

Example:

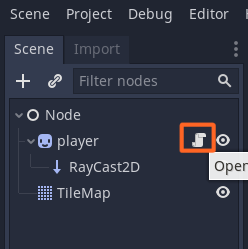
I also rearrange the scripts into different folder to reflect its purposes and change gamestate.gd to GameState.gd

Print at Critical Functions To Detect Functions Calling Sequence

scripts/global/GameState.gd

  • print(“game state – connected_ok()”, ” time stamp: “, OS.get_system_time_msecs())
  • print(“game state – player connected(). ID: “, id, ” time stamp: “, OS.get_system_time_msecs())
  • print(“game state – register player() “, id, ” time stamp: “, OS.get_system_time_msecs())

scripts/lobby/lobby.gd

  • print(“game state – register player() “, id, ” time stamp: “, OS.get_system_time_msecs())
  • print(“lobby – refresh_lobby() Players: “, players, ” time stamp: “, OS.get_system_time_msecs())
  • print(“lobby – _on_connect_success()”, ” time stamp: “, OS.get_system_time_msecs())

A Player Joins As Host @ Server

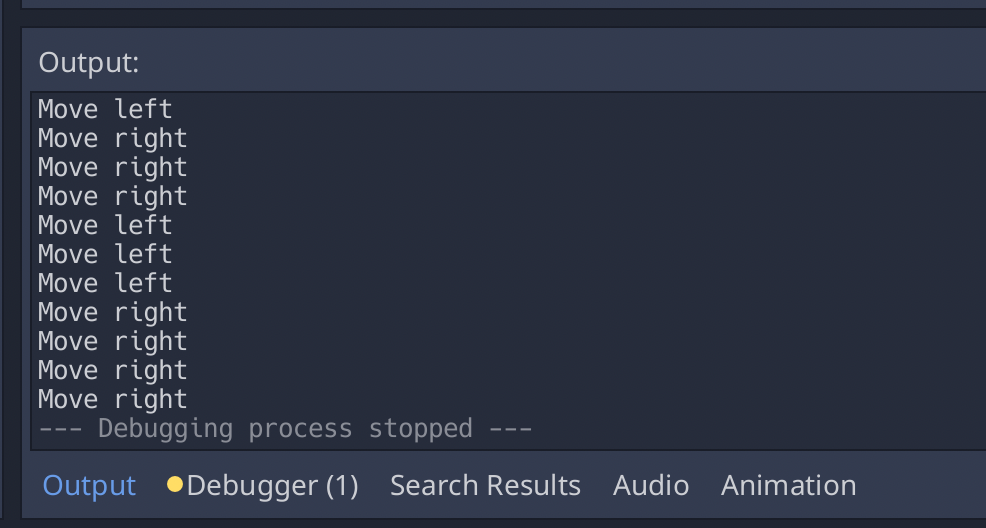
When a player joins as host, below is the print output.

Launch The Application

  • Run the application via command line (I’m using Linux)
  • Then click Host
Godot Multiplayer Lobby - starting game
Godot Multiplayer Lobby – starting game

Host / Server output:

As you can see, no network signals (network_peer_connected & connected_to_server) are emitted during the network server connections.

Godot Multiplayer Lobby - print output
Godot Multiplayer Lobby – print output

A Player Joins as Client

When a player joins as client, below is the print output.

Godot Multiplayer Lobby - starting as player @ client
Godot Multiplayer Lobby – starting as player @ client

Host / Server output:

Godot Multiplayer Lobby - server print output when a player joins as client
Godot Multiplayer Lobby – server print output when a player joins as client

Player / Client output:

Godot Multiplayer Lobby - print output as player @ client
Godot Multiplayer Lobby – print output as player @ client

Print Output Timestamp Sequence

I rearrange the print out timestamp based on which comes first. Below is the result.

Notes:
The timestamp here differs from screenshots as I did this article in few days, hence the difference in timestamps.

Sequence Diagram

From the “Print Output Timestamp Sequence”, I developed the sequence diagram for better visualization.

Godot Multiplayer Lobby Sequence Diagram

Key Take Aways

  1. A put “remote” if the function is called by rpc_id() or any functions called via rpc
  2. Functions within the same entity e.g Client or Server are executed first.
  3. Function called via rpc() is executed after all functions within same entity is executed.
  4. Even function triggered via emit signal is executed first before rpc()

Resources:

Sample code

Godot Input Event Example

I want to do a simple board game. Lots of things, I don’t really understand, example the input events. I read the Godot documentation on Input Event but they didn’t provide any project example besides the code.

For beginner, it is not straight forward. So I share the project Input Event example based on the Godot documentation example.

Steps To Do

1. Create Godot Project

2. Create New Input Map

– Click Project -> Project Settings

godot project settings

– Choose Input Map tab

godot - input map
godot – input map

– Find ui_right and choose the right key on your keyboard
– Then click OK
– Do the same with ui_left

3. Test it, by pressing the keys on your game.

– The text will appear on the output screen

godot - output screen
godot – output screen

Add Custom Input Map – Mouse Left Button Click

1. Go to project -> Project Settings

2. Type ui_mouse_left_button_click (you can give any name)

godot - add new input map
godot – add new input map

3. Click Add

4. Add left button event to the Input Map

godot - mouse left button click input map
godot – mouse left button click input map


godot - added mouse left button click
godot – added mouse left button click

Godot 3.2.3 Inheritance GDScript Call Parent Function

Lets say you want to have two GDscripts where the ChildScript.gd will call ParentScript.gd.

From there, you want the ChildScript.gd to call its parent function.

Create Class Inheritance

You first create inheritance in GDScript by calling “extends”.

Call Parent Function . Use dot “.” to call parent function

Download Godot Project Example

In this example, when “Press Me” button is clicked. The label will change to “Parent Child” where “Parent” is return value from parent function while child is from child function.

godot-3-2-3 inheritance call parent function

You can download here the project example.

Godot Button Signal Tutorial

I’m still new to games development using Godot engine.

I follow the button signal tutorial on Godot website. I created the project for easy reference for others because at the website they don’t provide the Godot project that you can immediately play.

Full GDScript from the tutorial

Download Godot Button Signal Project

You can download the button signal Godot project here, if you want to run the tutorial.

In case the button signal tutorial is broken link for what soever reasons, I have converted the web page into PDF.

Hope it helps beginner games developer like me.

Godot 3.2.3 Grid Movement Part 2/2

I converted this Godot Grid Movement Video Tutorial into textual tutorial because I feel it is much easier to follow textual tutorial.

This is Part 2, you can view Part 1 here.

What You Will Learn From This Godot Grid Movement Tutorial

  1. How to create player sprite that move in 2D grid
  2. Create Collision walls where the player sprite cannot pass through the wall

Part 2 – Player Sprite Moves within Walls

Create Walls

i. Add child node -> Add TileMap.
ii. Set Tile Set from empty to new Tile Set.
iii. Double click on new Tile Set to change to Resource tab.
iv. Click “+” add texture (add bottom left)
v. Use the default Godot icon as the wall.
vi. Make the Icon editor window bigger by clicking on the up arrow (bottom right)
vii. Zoom in the tile set by clicking “+” at top right.
viii. Click “New Single Tile” and click grid icon to enable the grid.
ix. Select the icon if selected yellow line will appear.
x. Change color to black by clicking the “Modulate”
xi. Change RGB color to 000000

godot grid movement - create tilemap
godot grid movement – create tilemap
godot grid movement - set tile set to new tile set
godot grid movement – set tile set to new tile set
godot grid movement - double click on new tile set to set the resources
godot grid movement – double click on new tile set to set the resources
godot grid movement - add the resource
godot grid movement – add the resource
godot grid movement - use default godot icon
godot grid movement – use default godot icon
godot grid movement - click up arrow bottom rigth to make the icon editor bigger
godot grid movement – click up arrow bottom rigth to make the icon editor bigger
godot grid movement - zoom in the icon
godot grid movement – zoom in the icon
godot grid movement - click new single tile and enable the grid
godot grid movement – click new single tile and enable the grid
godot grid movement - grid enabled
godot grid movement – grid enabled
godot grid movement - change color by clicking on modulate
godot grid movement – change color by clicking on modulate
godot grid movement - change color to black where RGB 000000
godot grid movement – change color to black where RGB 000000

Add Collision to The Wall Tile Set

i. Ensure tile set is still selected (yellow outline)
ii.Click “Collision”
iii. Click the square icon
iv. The select the region within the yellow line.
v. Icon color will change to turquoise if collision is properly set.

godot grid movement - add collision square
godot grid movement – add collision square

Create The Maze

i. Click on player sprite (to go back to player scene)
ii. You will see the TileMap is black now.
iii. Check the TileMap is 64×64
iv. Click on TileMap and start populating the walls to create your own maze.

godot grid movement - wall is black
godot grid movement – wall is black
godot grid movement - ensure size is 64x64
godot grid movement – ensure size is 64×64
godot grid movement - create maze
godot grid movement – create maze

Add RayCast2D to Player Sprite

i. Right click on Player sprite -> Add child node
ii. Select RayCast2D
iii. Set the RayCast2D
– Position x = 32, y = 32 (to make centre (red plus sign))
– Enable is on
– Cast to y = 32 (to make the down blue arrow to just at the edge of the player sprite)

godot grid movement - create raycast2D
godot grid movement – create raycast2D
godot grid movement - set the raycast2D
godot grid movement – set the raycast2D

Update the Player Script

i. Click on the script icon near Player sprite
ii. Update the script based on the code below.
iii. Ensure script indentation is correct.

godot grid movement - open script
godot grid movement – open script

godot grid movemen t- update script with raycast2d p1

godot grid movemen t- update script with raycast2d p2

Run The Game

i. Click Play icon (top right)
ii. Now you can see the player sprite can’t pass through the walls.

Godot 3.2.3 Grid Movement Part 1/2

I converted this Godot Grid Movement Video Tutorial into textual tutorial because I feel it is much easier to follow textual tutorial.

What You Will Learn From This Godot Grid Movement Tutorial

  1. How to create player sprite that move in 2D grid
  2. Create Collision walls where the player sprite cannot pass through the wall

Part 1 – Make the Sprite Move

Create Node

i. Click “Other Node”
ii. Then select “Node”

godot grid movement - create node
godot grid movement – create node
godot grid movement - select node
godot grid movement – select node

Create Sprite

i. Right click “Node” -> Add child node
ii. Select Sprite
iii. Drag and drop icon.png into sprite texture at right panel
iv. At sprite panel, untick centered on
v. Click “Scene” (top menu left) then save scene as player.

godot grid movement - create sprite
godot grid movement – create sprite
godot gride movement - drag n drop icon to sprite texture
godot gride movement – drag n drop icon to sprite texture
godot grid movement - untick centered
godot grid movement – untick centered
godot grid movement - save scene as player
godot grid movement – save scene as player

Add Script to the Player sprite

i. Right click on Sprite -> Attach Script
ii. Click create on when the window open.
iii. Remove all codes except “extends Sprite”
iv. Copy the code below and paste to the script. Ensure indentation is correct.

godot grid movement - attach script
godot grid movement – attach script
godot grid movement - create script
godot grid movement – create script

godot grid movement - remove all codes except extends Sprite
godot grid movement – remove all codes except extends Sprite

godot grid movement - script part 1
godot grid movement – script part 1

godot grid movement - script part 2
godot grid movement – script part 2

Run the Scene

i. Click “Play” (top right) or F5 to run the scene.
ii. Move your arrow left, right, up and down to move the player sprite.

Part 2 Godot Grid Movement Tutorial – Make The Collision Wall and Combined with Player Sprite