I bought an Ikea Hemnes drawers on 28th April 2024 at Ikea Damansara. The price is RM1,599. I found it a bit expensive with its simple design but it feel robust compare to other Ikea drawers.
ikea hemnes drawer price rm1559
How Long It Takes To Assemble It?
I took me nearly 7 hours to assemble it. The manual instruction is easy to follow. The most hard part for me is to nail the back cardboard.
installing ikea hemnes drawerinstalling ikea hemnes drawer malaysianearly completed ikea hemnes drawer installationcompleted installation of ikea hemnes without the drawersikea hemnes drawers complete installation
Quality
Everything is good except one drawer that doesn’t move that smooth.
Why I choose Ikea Hemnes because Hemnes is one of Ikea drawers that put iron rod under the drawer to ensure the drawer is not bent over the years.
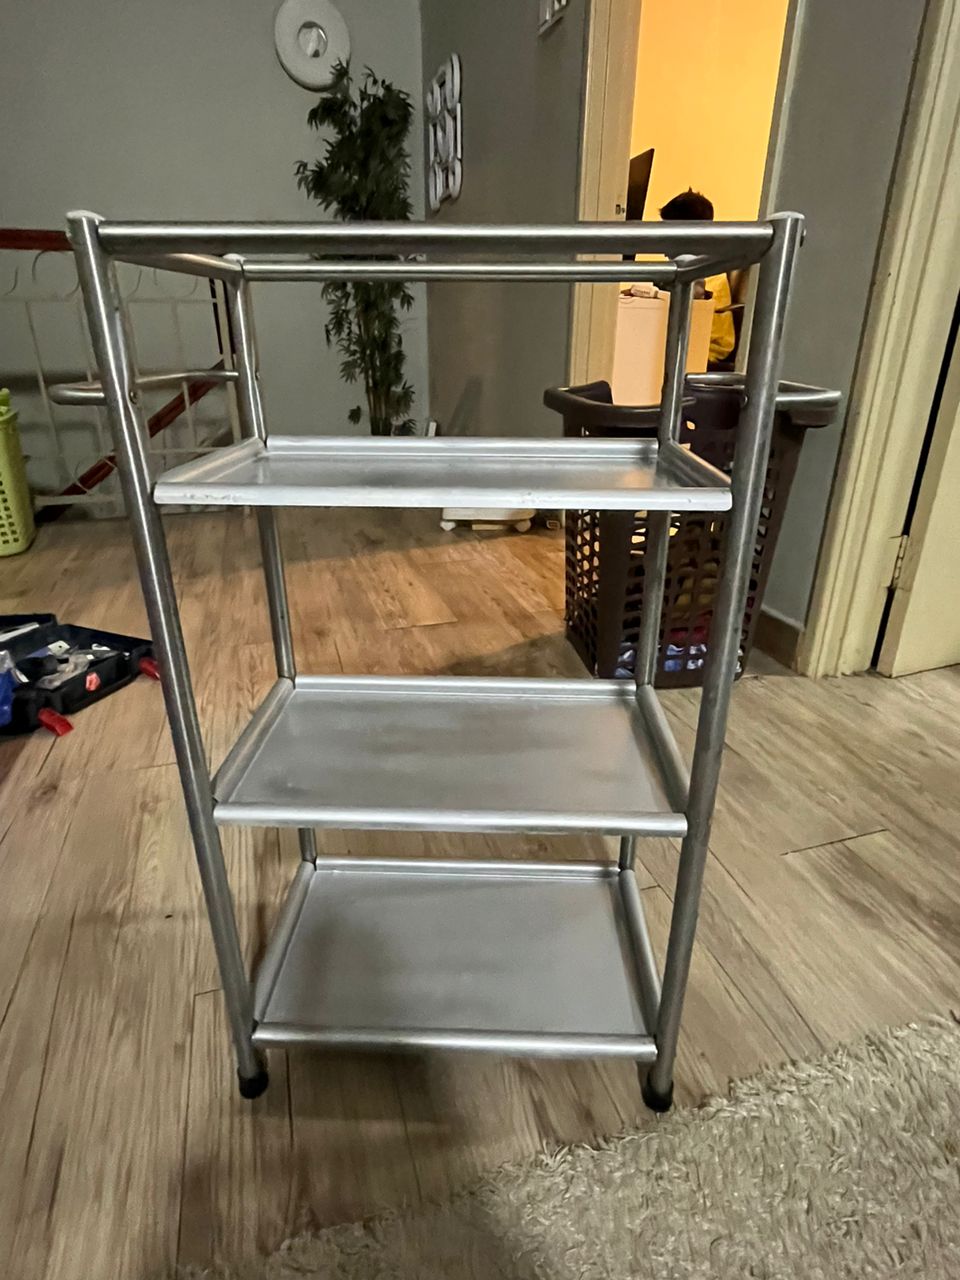
I have a rusty IKEA bathroom trolley that I have used for so many years. I was planning to dispose it but decided to refurbished it.
The wheel is so rusty that it was detached from the trolley.
IKEA rusty wheel detached from the trolley
It took me around 1 hour 30mn to do this restoration.
Steps to Refurbish The Rusty IKEA Bathroom Trolley
1) Remove any rusts using scouring pad
2) Replace the four wheels with rubber cap of 19mm width
3) Spray with silver color on rust that unable to be removed
ikea rusty bar bathroom trolleyikea rusty bathroom trolleysprayed tray to hide the rustikea trolley replaced wheel with rubber caprubber cap 19mm width at rm1.20 for 2 pieces
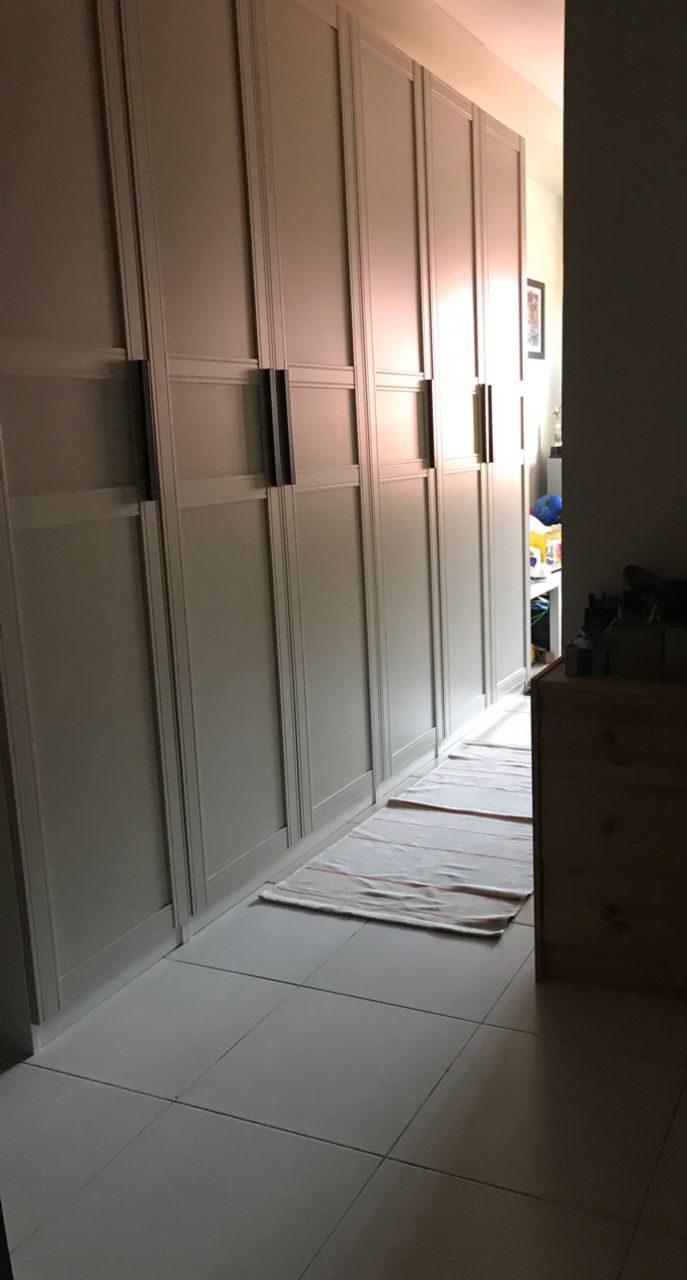
I bought IKEA PAX wardrobe at IKEA Damansara on 29th August 2021 and got it delivered on 31st August 2021. We had 50% discount for delivery thanks to Merdeka day. So we just paid RM35 for delivery.
We bought 2 sets of Ikea Pax Wardrobe with 150 cm (width) x 60 (depth) cm x 236 cm (height).
We had good experience with Ikea kitchen cabinet when we had issue with it, Ikea replaced our whole kitchen cabinet for free as it was still under guarantee.
Ikea PAX Wardrobe – 1o years guarantee
Changeable Configuration
You can change the shelves or add new shelf or drawer easily.
Why We decided To Install Ourselves the Wardrobe?
Actually we didn’t at first. But due to MCO Covid-19, Ikea didn’t do any installation until further notice.
When we received our Ikea wardrobe boxes, the delivery guy said they can do installation at 10% of total price.
We agreed to the price but they could only do it the next day.
Because we couldn’t wait and were too excited. We decided to install it ourselves.
What Are Tools Required?
Screwdrivers – 2 sets
Most of the time you just need one. But to join 2 frames together easily you need to use 2 screwdrivers.
Ikea gave one female and one male screw to join those 2 frames. So one screwdriver hold one screw while other turn to tighten the other screw.
ikea pax wardrobe – join 2 frames together
Cordless screwdriver cum cordless wood drill
Cordless screwdriver uses for closing gap of shelf supports plug and to screw L shape shelf to the frame.
cordless screwdriver cum wood drill
Wood drill bit
You need 2 sizes, the smallest one for the door handle drill and bigger one to make a whole for screw that will be used to join 2 frames.
ikea pax wardrobe – 2 sizes of wood drill bits for door handle and screw to join 2 frames
Water ruler
We used water ruler to ensure door handles were aligned horizontally.
Hammer
Hammer was used to nail the plywood at the back of the wardrobe.
F clamp – 2 sets
F clamp is used to join 2 frames together. IKEA instruction shows that we have to use 2 F clamps but I managed to do it with one F clamp because I only got one.
wood working F Clamp
How Easy it is to do it yourself the Ikea Wardrobe Installation?
Relatively it was easy but it was tiring. It took us nearly 12 hours to complete the whole wardrobe.
The hard part was installing the handle of the door. We made mistakes on it but the mistakes wasn’t that obvious.
What mistakes did we make during the installation?
Wood scar on the door handle
If drill from inside the door create wood scar on the exterior of the door. So the right way was to drill from exterior so the wood scar was only visible from the inside.
ikea pax wardrobe door handle – wood scar on the outsideikea pax wardrobe door handle – no wood scar on the outsideikea pax wardrobe door handle – drill from outsideikea pax wardrobe door handle – drill from inside
The L shape shelf
ikea pax wardrobe – L shape shelf
We wrongly assembled the L shape shelf. We had to disassembled and carefully read the IKEA instructions.
Secondly, we didn’t properly screw the L shape shelf to the frame until there was gap between the shelf and the frame body. When this happened, the drawer was stuck, it couldn’t be opened. We had to unscrew and screw it again.
One person drill the screw at the bottom of L shape shelf while the other push it to the side to avoid it from making a gap with the frame.
What tips we can give for anyone wants to do themselves?
Shelf Supports Plug
Use your cordless screwdriver to screw the supports plug to ensure there is no gap between the supports plug and the wardrobe frame.
At first, we tried to screw it manually but there was always a gap and hard to properly put the shelf on top of the supports plug.
ikea pax wardrobe – shelf supports plug
The Door Handle Wood Scar Due to Drilling
Use another unused wood at the other side of drilling section to avoid any wood scar as shown in the below videos.
Would we do it by ourselves again?
Yes. Even though it was tiring but we were excited and felt fulfilled when it was successfully assembled.
Some Photos during the IKEA Wardrobe Assembly
ikea wardrobe – frameikea wardrobe – kids helping to nail the plywoodikea wardrobe – nailing the plywoodikea wardrone – frame that can be nailed to the wallikea wardrobe – first frame completedikea wardrobe – lamp is on where door is opened
Before we purchased anything big, we will do our market survey and compare in term of;
pricing,
benefits,
features of products
the company and its representatives (hospitality and response time)
so that is, we decided to take up IKEA kitchen cabinet after touring few other companies selling its designs and cabinets.
From our rental property we choose IKEA cabinet and same to our own stay. My experience with IKEA so great that i am mostly satisfied with the ‘pick and choose’ concept. While the kitchen designer can easily design on spot of your desired cabinet.
Most important part is they offered me 25 years warranty. I bet if you purchased with other company within less than a 2 years sure got defect (my two other friends real experienced) and the saddest part is .. you are with you own trouble and the sales job are done. But not IKEA!
I installed my cabinet in year 2013
But somehow there was really small defect that made me come to them for a minor replacement (year 2016). I was informed that the model no more in selling list and the sizes are all different. After few times meet up the customer service representatives they really made my day. I managed to changed whole set without any hassle …cost and i later decide to extend my cabinet.
See from good service lead to another new sales and off course i did and will recommend to my friends. Adios!