I want to do a simple board game. Lots of things, I don’t really understand, example the input events. I read the Godot documentation on Input Event but they didn’t provide any project example besides the code.
For beginner, it is not straight forward. So I share the project Input Event example based on the Godot documentation example.
Steps To Do
1. Create Godot Project
2. Create New Input Map
– Click Project -> Project Settings
godot project settings
– Choose Input Map tab
godot – input map
– Find ui_right and choose the right key on your keyboard
– Then click OK
– Do the same with ui_left
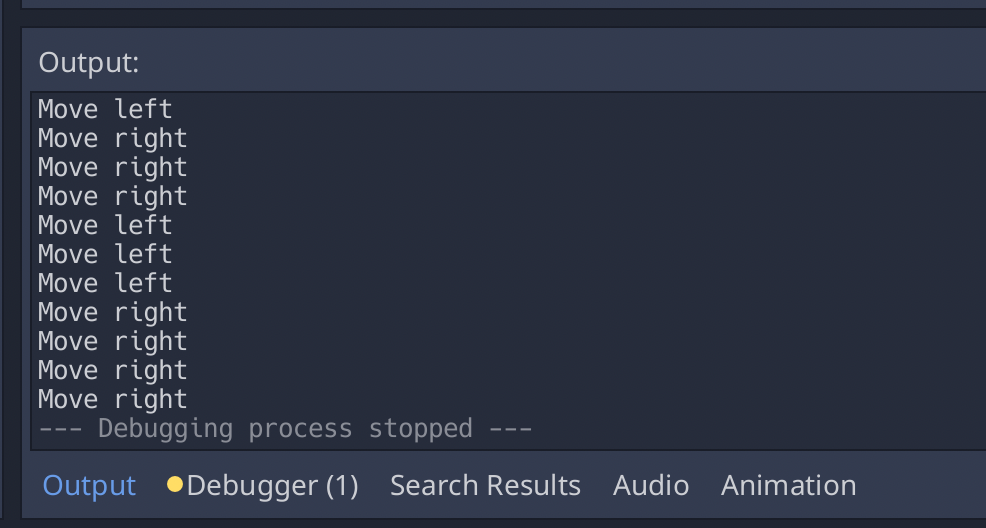
3. Test it, by pressing the keys on your game.
– The text will appear on the output screen
godot – output screen
Add Custom Input Map – Mouse Left Button Click
1. Go to project -> Project Settings
2. Type ui_mouse_left_button_click (you can give any name)
Lets say you want to have two GDscripts where the ChildScript.gd will call ParentScript.gd.
From there, you want the ChildScript.gd to call its parent function.
Create Class Inheritance
You first create inheritance in GDScript by calling “extends”.
1
2
3
4
extends"res://gdscript-filename.gd"
#example
extends"res://Parent.gd"
Call Parent Function . Use dot “.” to call parent function
1
2
#function example, where child calls parent function
.getText()
Download Godot Project Example
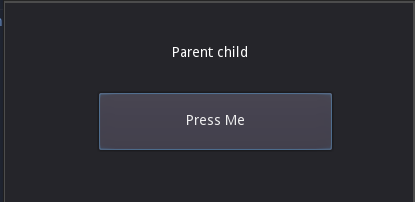
In this example, when “Press Me” button is clicked. The label will change to “Parent Child” where “Parent” is return value from parent function while child is from child function.
What You Will Learn From This Godot Grid Movement Tutorial
How to create player sprite that move in 2D grid
Create Collision walls where the player sprite cannot pass through the wall
Part 1 – Make the Sprite Move
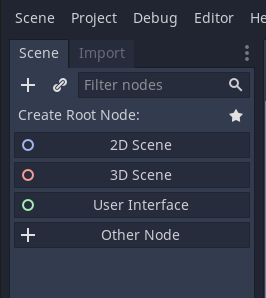
Create Node
i. Click “Other Node”
ii. Then select “Node”
godot grid movement – create nodegodot grid movement – select node
Create Sprite
i. Right click “Node” -> Add child node
ii. Select Sprite
iii. Drag and drop icon.png into sprite texture at right panel
iv. At sprite panel, untick centered on
v. Click “Scene” (top menu left) then save scene as player.
godot grid movement – create spritegodot gride movement – drag n drop icon to sprite texturegodot grid movement – untick centeredgodot grid movement – save scene as player
Add Script to the Player sprite
i. Right click on Sprite -> Attach Script
ii. Click create on when the window open.
iii. Remove all codes except “extends Sprite”
iv. Copy the code below and paste to the script. Ensure indentation is correct.
godot grid movement – attach scriptgodot grid movement – create script
godot grid movement – remove all codes except extends Sprite