In my previous post, I was unable to install PHP & MySQL. This time after 2 years, I tried again but still fail, so I decided to use XAMPP to install PHP & MySQL and Apache on MacOS Ventura and it works!
But I had to disable default installed apache2 and change MySQL default port at XAMPP before MySQL and Apache2 can run on XAMPP.
How To Install PHP, MySQL & Apache using XAMPP
1. Download and install XAMPP
Mount the xampp dmg and run it. If you face unknown publish then do Control + Click on the XAMPP installer then run it again.
2. Follow the step by step instruction in installing XAMPP
Just follow the instructions.
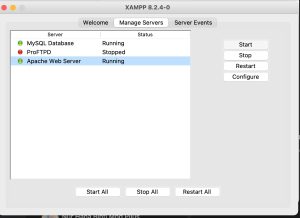
3. Run the servers
If you unable to run the MySQL & Apache web server than follow below solution.

If you can run MySQL change it default ports. I use 3316 instead of default 3306.

I tried to stop mysql service but MacOS informed no MySQL service was running. Only by changing MySQL default port it works.

If you can’t run the apache2 server, stop default apache2 server by typing at the terminal.
|
1 |
sudo apachectl stop |
Then run again Apache Web Server at XAMPP.

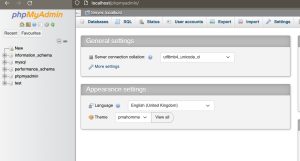
4. Test PHP & MySQL by accessing PhpMyAdmin
If you can access phpMyAdmin and create table or user from phpMyAdmin then your XAMPP installation works!

